Showing posts with label Hexies. Show all posts

Friday, September 5, 2014

Hexagon Flower Quilt Tutorial


Anyone remember this quilt I made last year? I used about 18 Moda Mini Charm Packs and about 4 yards of background fabric.  I had a great time making it and it was, actually, pretty easy. It just takes lots of time.
I think of this as a modern Grandmother's Garden. I didn't want to sew together the hundreds of plain spacers that go between each flower. I was sure I would lose interest. Buuuut...if I didn't have to make the spacers? Perfect

Here is how you can make a Hexie Flower Quilt. A baby quilt would be cute too, and wouldn't be as time consuming..


Start by making a hexie flower. You can see my previous post on how I stitch my hexies here

You will need:
6 petals (the pink hexies in my photo) =2.5" fabric squares and one hexie paper per petal
one center piece=2.5" fabric square and one 1" paper hexie
1- 7" background square


Arrange your pieces in a layout you like this


Start by sewing the center piece to one of the petals (the hexie tutorial shows how I do this step too).


Add the second petal by placing it right sides together on the center hexie.
Whip stitch from the right towards the center
I like to do a couple of extra stitches in place in the center before I start to sew down the side


Flip this unit and sew from the middle down to the top.
Knot the thread and snip


Sew the next 3 petals the same way
The last petal you will sew just as you did before but you will go back to the last side of the hexie and sew the one remaining side


Here is the back. You can see that I do not trim my hexie fabric prior to sewing. I use 2.5" squares for the 1" hexie paper
Pull out your papers (pull back one corner of a petal on the back and gently pull the paper out)
Iron flat after all papers are out


Fold your square in half, finger press, fold in half again, finger press.
This creates a cross hair for you to center your flower.
You can see I lined up the notch on each side of the flower to the horizontal line.
 I lined up the center of each top petal the the vertical line
Pin in place


Sew around the flower close to the edge.
For the finished quilt in the first photo I used an off white thread for every flower. I decided I didn't want to change thread color.
With my example block I used an off white thread again. A light grey probably would have worked too.

Fabric requirements ( for finished twin quilt)

108  blocks in a 9X12 layout
3.5 yards of background
756-2.5" squares (or 18 mini charm packs, which I used. All different but I duplicated 2)
3 packages of 100/pack 1 inch hexies

I have used those 300 hexies for about 5 projects and they have held up well.
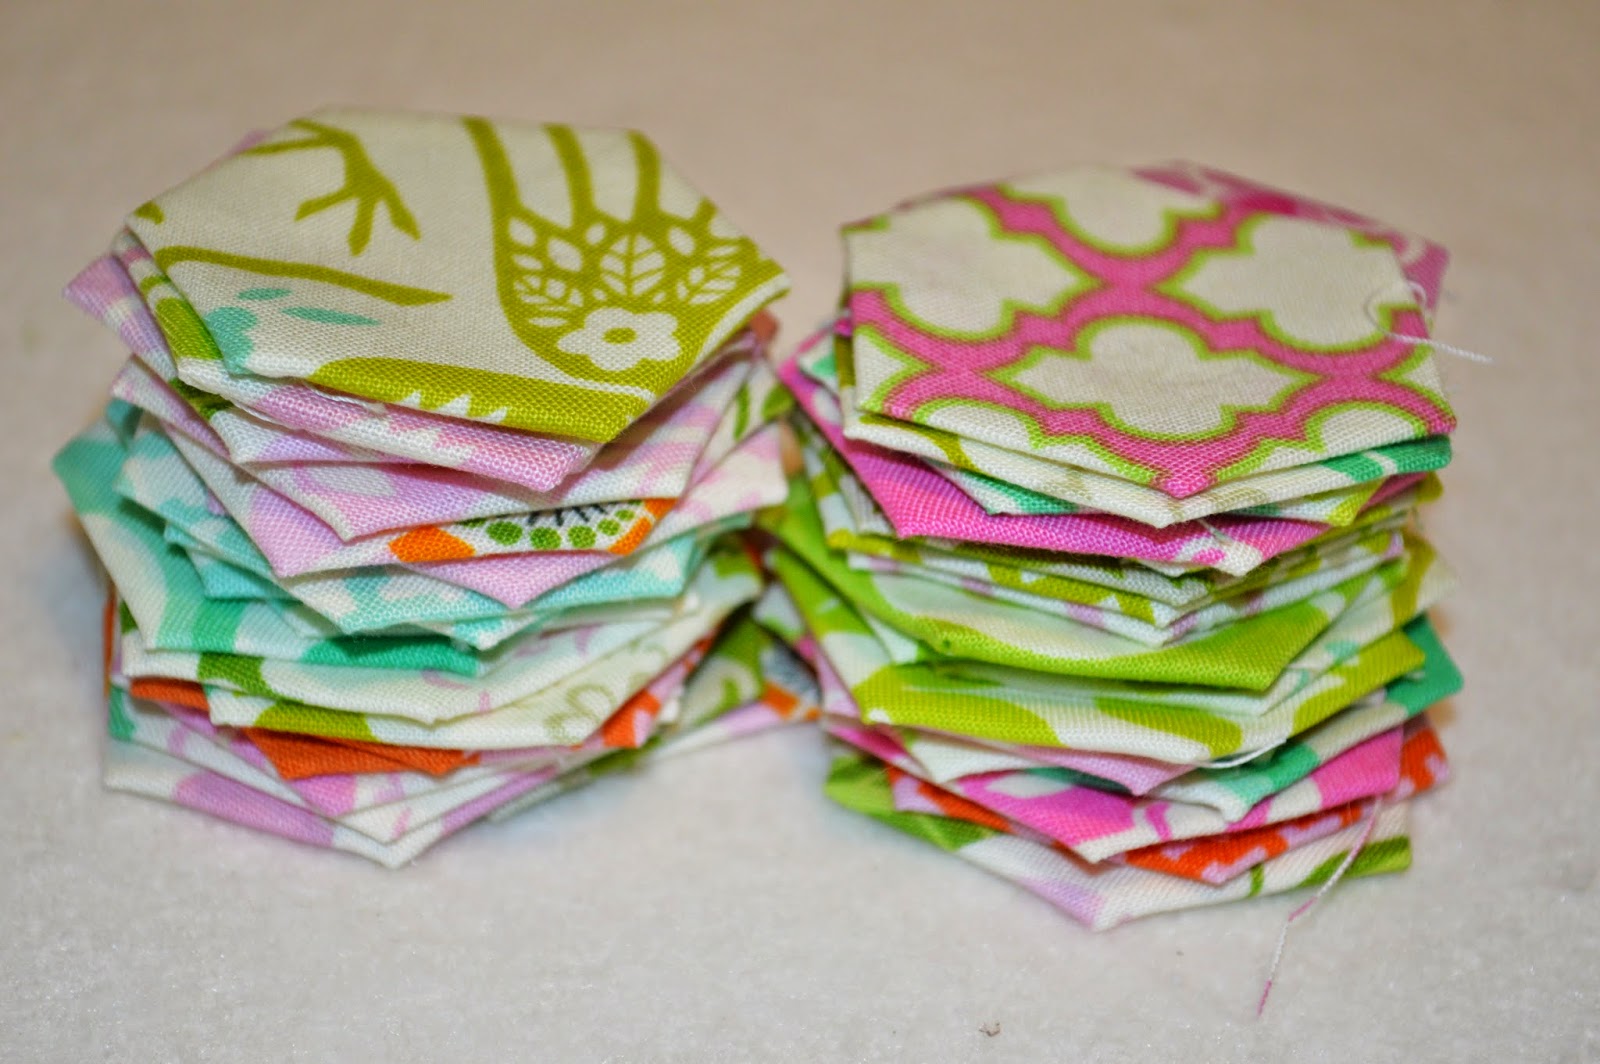
Sometimes I like to make each flower from beginning to end, sometimes I will sew up a bunch of hexies until I have a huge stack and then sew them up in to a flower

Where to Find: Etsy
Hexies
Mini Charm packs
Low Volume fabrics for background

Website
Mini Charm packs
Low Volume


Saturday, August 30, 2014

Hexie Baby Quilt


Need a quick and easy baby quilt? This might be what you are looking for.

I have a hexie tutorial here if you haven't done hexies before or want to check out the method I use.


You will need:

1.25 yards background (I used a natural linen)
Frixon pen (or other marking implement)
long ruler
70- 2.5" squares of fabric (you can use Moda Candy, jelly roll, or scraps)
1" hexagon paper piecing papers
1.25-1.5 yards backing ( I like a little extra backing when basting and lining up my top)

Step 1:
-sew up your hexagons using your preferred method
-iron the hexies and take out the papers


Step 2:
Mark your fabric
-draw your first line down the right side 5" in from the edge
-draw a second line 7" from the edge
-third line is drawn 9" from the edge
-the last line is down from the top 2.5" between the first and second line. This will help place the first hexie


Step 3:
-place the hexies and pin in place as shown. I pinned and sewed in 3 sections. For me, more than that and the pins would be a problem


Step 4:
-sew up and down each hexie row. It looks like a zig zag.
-I wasn't worried about the bottoms and tops not being sewn down as the quilting would tack it all down


-all done.
-quilt as desired. I am thinking about writing up a tutorial on the method I use to mark, baste, and quilt my quilts.

All of our Up Parasol bundles are on sale and the fat eighth bundle would be perfect to make this quilt.

fat eighth bundles $5 off
fat quarter bundles $10 off
half yard bundles $8.99 per yard

If you are looking for yardage convo me at our Etsy shop and I can set up a custom listing for you

 
Free Image Hosting at www.picturetrail.com

Thursday, August 28, 2014

Vintage Quilt Thursday: Hexie Tutorial


Welcome to Vintage Quilt Thursday! Last week I shared a few fantastic vintage Grandmother's Garden quilts made with hexies.

Today I am sharing how I sew my hexies. There are several different method and each has its merits.


This is my hand sewing kit. I can take it with me or have it sitting my my sofa. In it I keep a small pair of scissors, neutral thread, sewing needles, hexie papers (I am using 1" papers), and 2.5" squares.

The bag is made with the Sew Together Bag pattern. Heather wrote a Sew-A-Long for this pattern and made it easy for anyone to make a triple zipper pouch.

Moda Candies are the perfect size for the 1" hexie papers. 
I used those and hand cut 2.5" squares from scraps and fat quarters. When hand cutting I lay one paper on the fabric (folded several times if a fat quarter or large scrap) and use it to eye ball a square and cut.


In my left hand (I am right handed) I hold one paper and one square, the paper on the wrong side of the fabric.


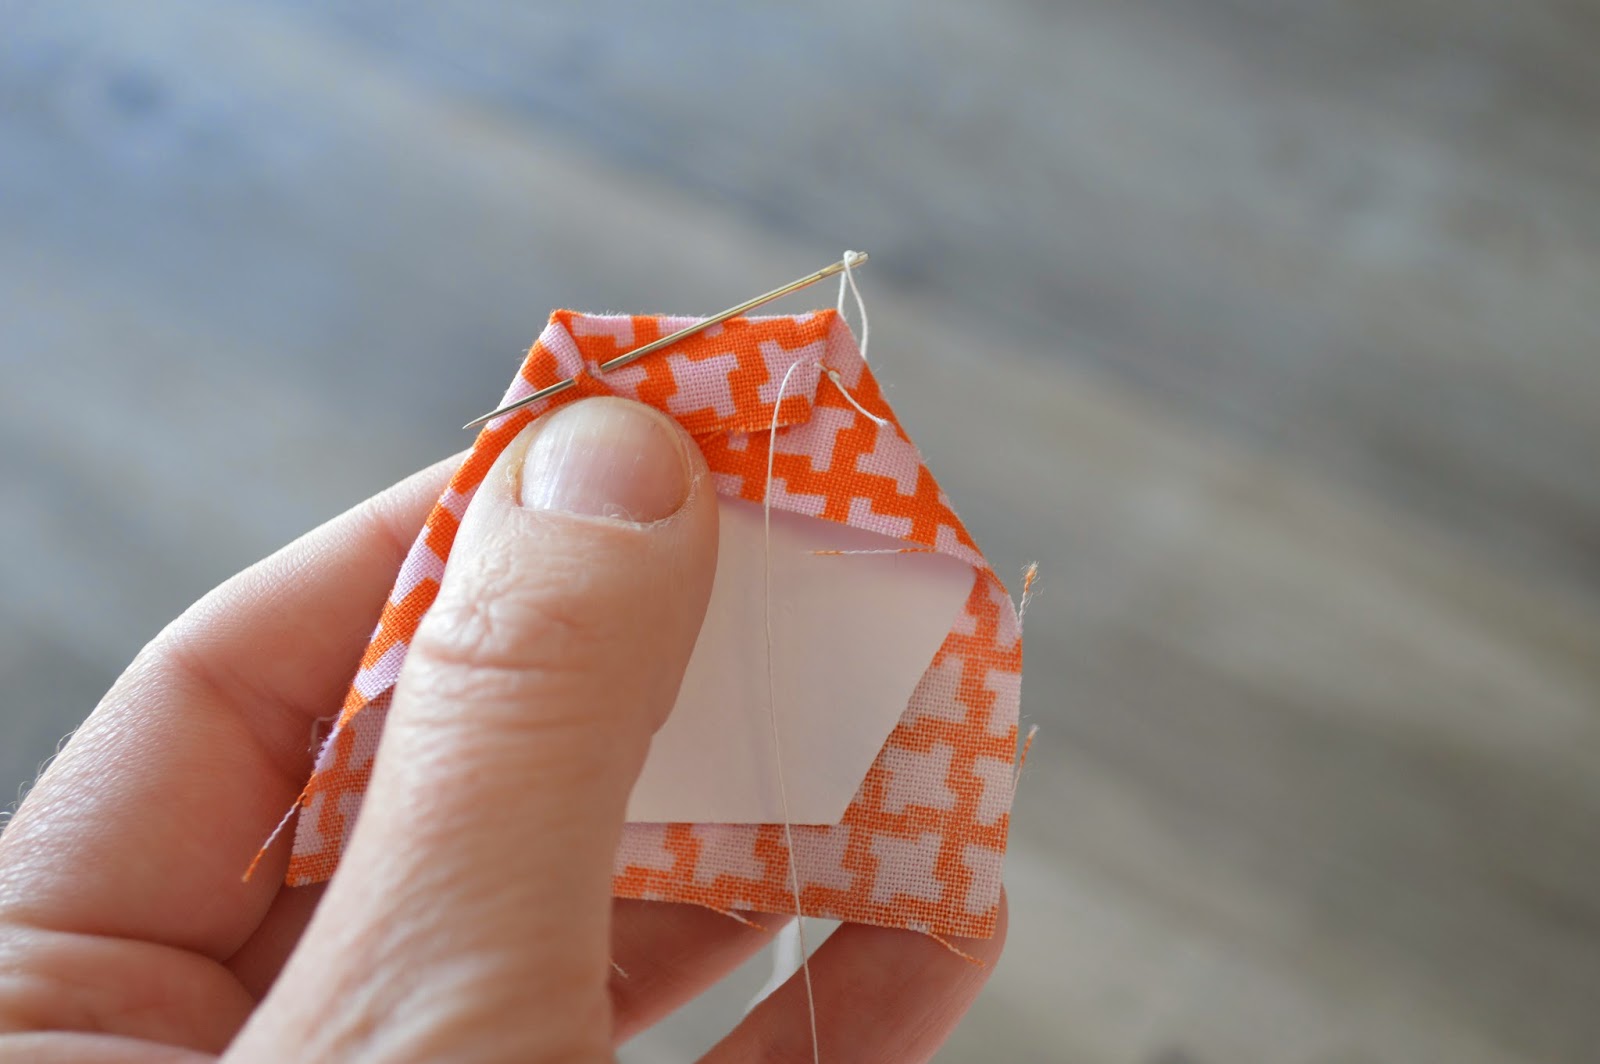
Fold the top right corner down and then fold the adjoining side down. Hold with your thumb.


With a threaded needle, single strand with a knot at the long end, go through both fabrics in the corner.


Take two stitches in each corner. Do the same fold and 2 stitches in each corner.


All done. You can see I did not go back to the original corner so you see no thread stretched to that corner.

I do not trim my fabric but leave it as a square.


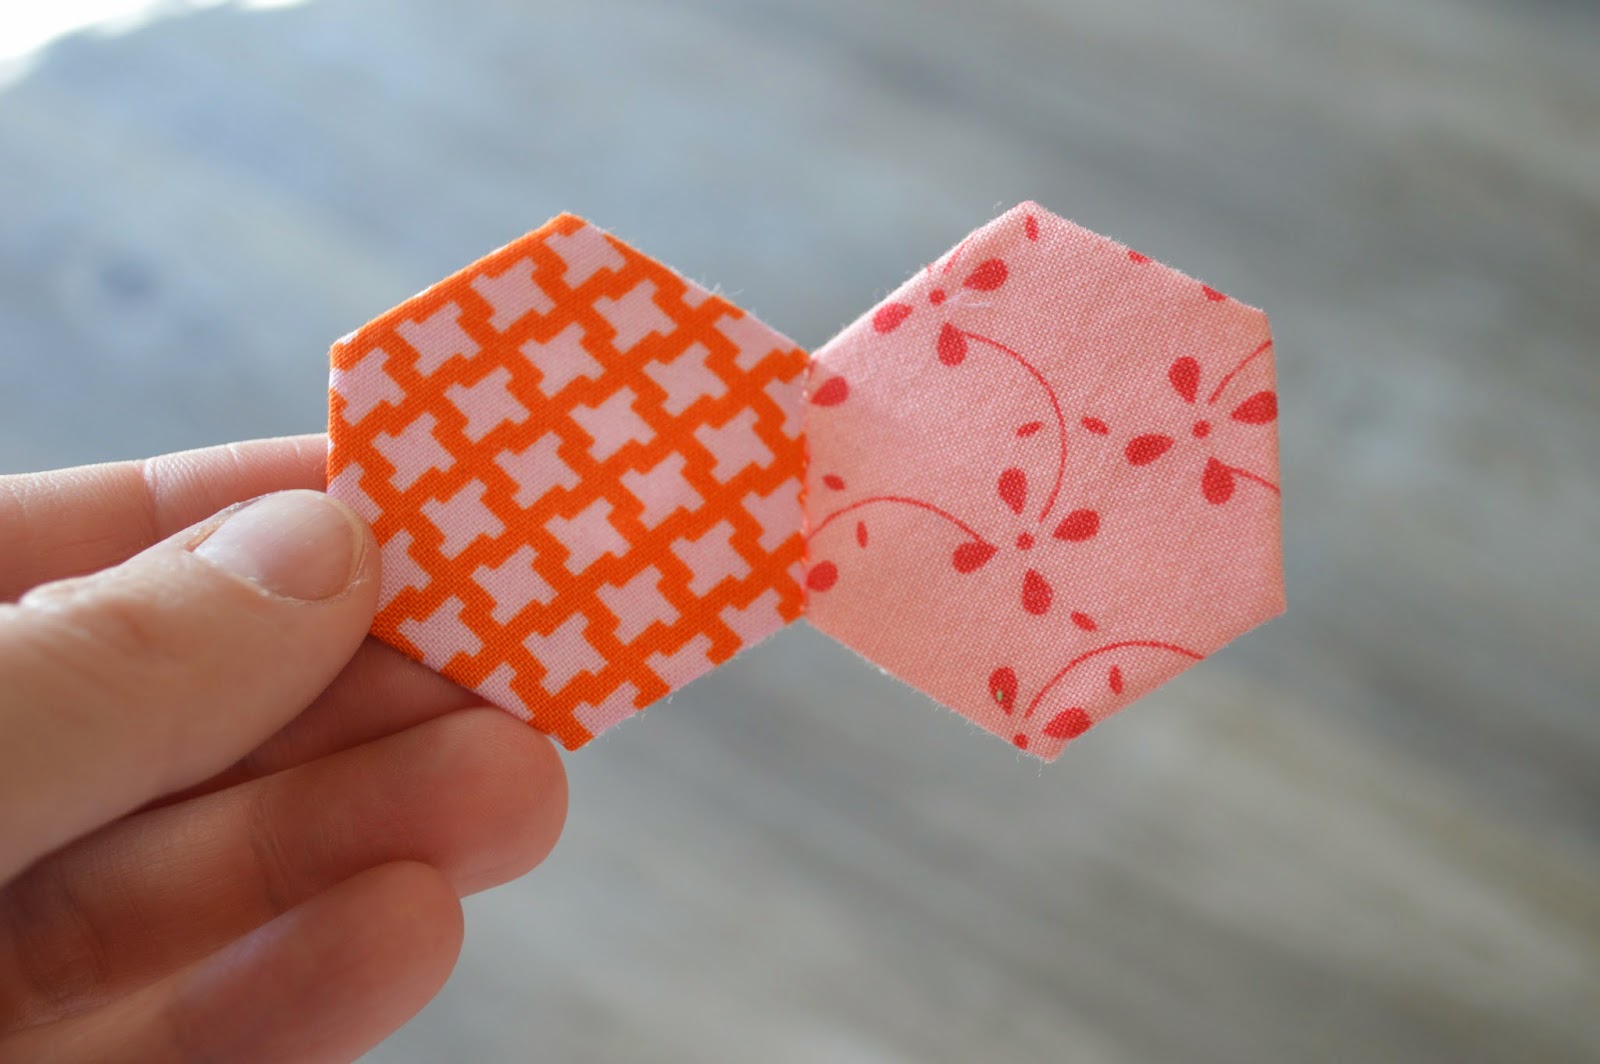
Joining 2 hexies.
Place 2 hexies right sides together.  Use small, shallow stitches to whip stitch the 2 sides together.


Using shallow stitches will ensure your stitches do not show on the front. And if they do, thats ok too.


Ta-da.


Here is the back.

There are many different configurations when joining the hexies.

I am going to share 3 hexie projects (2 quilts and one accessory) that show 2 different configurations.

The first project, a quick and easy baby quilt, will be up Saturday. See you then!

Thursday, March 20, 2014

My Sew Along Bag


I was following along with all of your during Heather's Sew Together Sewalong. I don't think I would have taken on this project with some sewalong help. I am so glad I made it. I think I will be making a few more for gifts this year.

I used my hoarded Katie Jump Rope scraps and made them in to a hexagon cluster for the front of the bag.


And the inside. I made a few mistakes, only noticeable if I pointed them out. My next bag will be much better. I already have fabric choices for it running through my head.

Thanks Heather for the Sewalong! You can still follow along and make your Sew Together Bag. Here is a link to purchase the pattern.

Here is Day 1. The Sewalong is divided in to 5 Parts and has a lot of pictures to help you follow the pattern.

Don't forget to post your pictures in our Flickr group. We want to see what you made!

Free Image Hosting at www.picturetrail.com

Monday, January 6, 2014

Happy New Year and New Hexies


As soon as I finished my hexie quilt I started another. I am addicted.

I  moved on to double flowers and this time I used scraps. I had a goal of 35, then 48, and now I am making 63 (I believe I have 49 made). I have ordered a Bridal Bouquet paper piecing set and I can't wait to get started.


Hexie Quilt Particulars
-made using mini charms from Moda. They are the perfect size (2.5") and I didn't trim them.
-I used about 20 packs and 3 packs of paper pieces. I have reused them many times and they have held up well
-I sewed the hexie flowers right on to a cream square and then joined the squares
-started in March and finished the top in November


Today is about taking down our Christmas window.  Now I have to think about a January up to February window. I am drawing a bit of a blank. Anyone local have any ideas and want to help me? I miss my window partner Laura.

Speaking of Laura, she will be giving me photography lessons. I got a new camera for Christmas and I am over my head. I did take a few shots of my ornaments to practice before packing it all up.

You can follow Heather and I are what we are working on via Instagram. Heather is thequiltbarn and I am tinyglutton 

Linking up to Crazy Mom Quilts.