Showing posts with label Vintage Quilt Thursday. Show all posts

Monday, August 3, 2015

Sharing Vintage Quilts


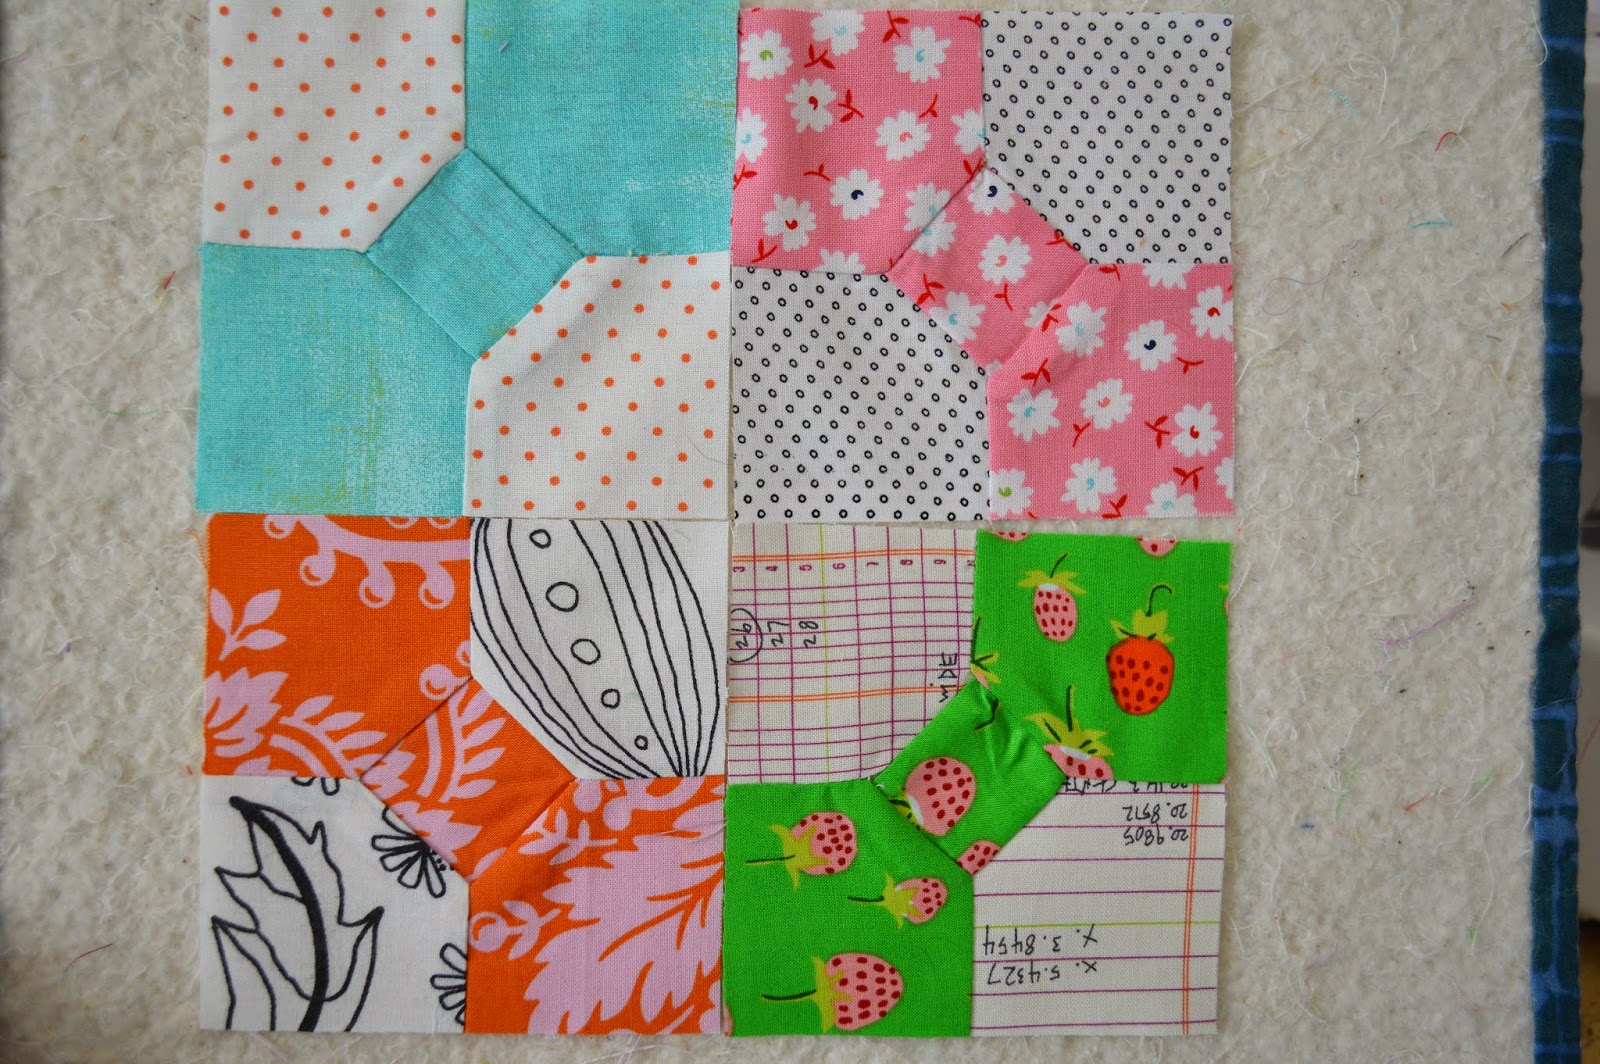
I visited a friend and got a chance to take a look at some family quilts. Above is a very bright  (I think the fabrics must have been kept out of the sun) quilt using half square triangles and dresden plates. While this is a traditional quilt it looks very modern too. The top middle square's use of bright, sunny yellow is a fun departure from the expected.

This quilt also happens to be backed by another quilt. There is no binding and one quilts wraps around to the front. My friend says she has peeked through an small open seam and says there is a third quilt inside as batting!

I would love to know what the hidden, inside quilt looks like. As you can imagine, this quilt is very heavy. A winter quilt I am sure.


Another well loved quilt. The large missing piece (bottom middle of quilt) almost relegated this family quilt to the donate pile, or worse, the garbage bin. Thankfully, my friend saved it (it was her husband's mother's quilt).

As you can see on the backing, this quilt was heavily hand quilted. I would guess inch spaced lines.

Big thanks to my friend for letting my fondle her quilts and take pics. I have a few more to share and I have taken notes on a few so I can attempt to recreate the blocks.

If you are ever in Riggins, Idaho, stop by her antique shop on Main St, Two Ladies Antiquities

Check out our machine quilting services. You can mail your top and backing in to our shop and we will mail your quilted to back to you

Instagram
Heather: @thequiltbarn
Tara (me!): @tinyglutton

Facebook
The Quilt Barn

Thursday, November 20, 2014

Vintage Quilt Thursday: 6 Pointed Star


Welcome to another Vintage Quilt Thursday. Today is a continuation of my previous posts on the 6 Pointed Star quilt (you can see here and here) .

These 2 vintage quilts show another way to lay out your paper pieced stars.


Welcome to another Vintage Quilt Thursday. Today is a continuation of my previous posts on the 6 Pointed Star quilt (you can see here and here) .

These 2 vintage quilts show another way to lay out your paper pieced stars.

 The amazing feedsack top above (source here)  is pieced with hexagons as well as the white diamond spacers! It reminds me of an Irish chain quilt.


This pink beauty (source here, and its for sale!!) is pieced with 2 sizes of squares.


Here is Heather's quilt, and the inspiration for the latest Vintage Quilt Tutorial, that was joined with the same diamond shape.

Lots of options out there for your 6 Pointed Star quilt.
You can find the papers to make your own 6 Pointed Star here .

I have started working on the next tutorial and am quite pleased so far (fingers crossed). I will share the inspiration pic next Thursday so come back for that!

Thursday, October 30, 2014

Vintage Quilt Tutorial: Paper Pieced Star


 Happy Thursday and welcome to another tutorial inspired by a vintage quilt. You can see the inspiration for today's tutorial here.

This tutorial is similar to another paper piecing tutorial (hexagons) and you can check it out here


For this block you will need 6 paper diamonds, 6 fabric rectangles (5"X2.5"), and either a glue pen or a needle and thread


Using the paper diamond as a template cut your rectangles leaving a generous 1/4" bigger than the paper. This will cut down on bulk.
Dot a bit of glue in the center of the paper and press to the wrong side of the fabric. This will help keep the paper from sliding around.


Glue basting method:
trace a line of glue down one side of the paper, fold the fabric over and press.


Do the same for all 4 sides. Voila.


Hand sewing method:
Fold over the fabric on the side point and stitch 2 small stitches through all fabric layers.
Go up to the top corner and do the same


I like to heat press my hand sewn diamonds.
Here are 5 hand sewn and 1 glue based diamond


Now to join the diamonds. Place 2 diamonds, right sides together, and sew a whip stitch from point to point. I like to start and stop each end with 2 stitches to add reinforcement.


Ta-da. Matching thread will help make the stitches less noticeable on the other side.


Here is the first unit


Continue adding diamonds the same way. Here is half of the star untit


Stitch the last side by  folding the unit in half and sew from the middle out.


We did it. You can fussy cut your fabric and create a nice spinning effect with the fabric.


After all the diamonds are sewn I iron the center points in a fan to reduce bulk.


You can make add the spacers in the same way as the star pieces. Sew from the outside point to the middle, make a few extra stitches int he center for reinforcement and back up the other side to the outer point.


All stitched up.


And the back.
Next time I will show you a few ways to join your stars and spacers. I will aslo be adding the Sewline glue pens to our Etsy shop if you want to give that a try too.

Thursday, October 16, 2014

Vintage Quilt Thursday: 6 Pointed Star


 Happy Thursday! Today I am sharing a vintage quilt from Heather's collection. It is an english paper pieced 6 pointed star made with the most amazing variety of vintage feedsack fabrics.


Heather basted the quilt on her long arm machine and it hand quilting it.


Next week I am going to share a tutorial on making this block. You don't have to make a whole quilt like this one but a block or two would be fun to make into baby quilt, a pillow, or a pouch.


I think this pink block with the blue flowers is my favorite.
Be sure to come back next Thursday and check out our tutorial!! Happy Sewing.

Thursday, October 9, 2014

Vintage Quilt Thursday: Baby Bow Tie Tutorial


Welcome to another Vintage Quilt Thursday!! Today I am sharing a tutorial for a bow tie block.
You can check out the vintage inspiration here.

The picture above shows 4 of the blocks put together. Since I am not making a full quilt with the blocks I put 4 together to make one bigger block. This 4 unit block is 7.5" unfinished.

First, CLICK HERE to print out our template. It has 2 pieces, A and B, that you will use to cut our your pieces. You can use the cut paper to trace (that's what I did) or you can trace it on to heavier card stock.


You will need (per block):
1 B piece of bow tie fabric
2 A pieces of bow tie fabric
2 A pieces of background fabric

Trace and cut out these pieces using the printed and cut templates.


This block uses Y seams, or partial seams, so I marked a few of the pieces to help me know when to stop my seam.

One the middle square draw a line on each side 1/4" from the edge. Do the same for the background A pieces. I used a Frixon pen. The drawn line disappears with the heat of an iron.


First we are going to sew the middle bow tie. With right sides together sew the middle B square to the A piece.


Sew your seam just on the drawn line.


Do the same for the other middle square and A piece. Can you see my seam, how it doesn't go all the way from one edge to the other?
Iron your seams


Now for the background pieces. With right sides together lay your background piece on the middle square. Sew a line following the drawn line, starting and stopping before each end.


This step is hard to photograph and will make more sense when you get to this step and can see it in person.
Fold the bow tie unit to the side and line up the background outside edge with the bow tie edge.
Sew your seam from the point (at the edge of my thumb) to the outside edge.
I had to unpick a few seams at this step to get a feel for how far the seam should go to the middle. It doesn't have to be perfect, ironing will help it lay flat.


Sew your seam the same way on the other side of the same piece.
Repeat for your opposite A background block.


Iron and trim. This block is 4" unfinished.


Here is the back.


If you are putting blocks together, like I did, without sashing, there are a few ways to orient the blocks.
This way I create a colorful 4 patch in the middle.


And if I sew them this way I get a different look and all the bow ties go in the same direction.


The 4 patch method will also give you a 4 patch of background fabrics. This would make a fun ring effect with the bow ties.

So, clear as mud? This was a bit more challenging block if you haven't tackled Y seams before.

Check out this new fabric I listed in our Etsy shop. I love the low volume effect with pops of teal. And it has a doily so you know I love it. It is also in our webstore.

See you next time for another Vintage Quilt Thursday inspiration quilt. You can check out our past Vintage Quilt inspirations and tutorials by clicking on the link at the top of the blog.

Thursday, October 2, 2014

Vintage Quilt Thursday: Baby Bowties


I found this little gem for Vintage Quilt Thursday stuffed in a box I was sorting through for our next Vintage Yard Sale (October 11 at 8am. Its a Part 2 since we are gathering more stuff that didn't make it last time).

I am guessing I bought it at a thrift store years and years ago. Its a baby size quilt, very soft from washing and wear, and is just as sweet as it can be.

Oh, hello big jugs of Best Press and Miss Kate flannel charm squares. I really need to get one of those jugs.


I love the variety of fabrics. Did they come from clothes? Scraps swapped with neighbors?


I think this block is my favorite block, those sweet yellow flowers. And can you see the "make do" piecing? The pink sashing above the square is pieced to fit. I know I have done that before (my reason was cutting errors)

Recreating this block and writing up a tutorial should be my most challenging block. Its has Y seams. Y seams, or partials seams, aren't difficult, its just a different way of  piecing. This tutorial with Y seams will be good practice for a pattern and sew a long (its a quilt!) that Heather and I are plotting.


 And one more early morning picture. This shows how loved this quilt was and now how thin it has become. I hope the quilts I have made and gifted are used and loved too.

I  added a few new newsprint low volume fabrics to the shop. They are kind of awesome.

See you next Thursday when I will post a Baby Bowtie tutorial for you. I am thinking it will include a pdf printout. Is anyone out there trying out some of these blocks? Happy Sewing

Thursday, September 25, 2014

Vintage Quilt Thursday: Hourglass Tutorial


Welcome to the Hourglass Block tutorial. You can see the vintage quilt inspiration here.
This is a smallish block (each of the half square triangles is 2").

Here is how to make this fun little block.


 Start with 4- 2 7/8" squares, 2 of each 2 colors.


Draw a line diagonally on the lighter square.


Place the squares right sides together and sew down each side of your drawn line 1/4".
Cut on your drawn line.


Open and press each square. Pressing (placing the iron on the fabric and picking it up to move) rather than sweeping across the block will help to keep the square from getting pressed out of shape.
You have now created 4 half square triangles (hst's).
Trim the dog ears (the corner flaps).


Lay the squares out like so.


Sew the squares on the top and bottom


And then join the top and bottom units.
Voila, you are done. Cute, right?


Since I am not making a full quilt out of these blocks (like in the inspiration) I made a few more blocks to see what a bigger block would look like.

This layout features the lower volume prints in the middle. It creates another block in the middle.


Turned this way I get another hourglass block in the middle.


 This placement gives a punch of color in the middle.

You can make this block any size you want. Have a bunch of left over 5" squares? Sew up half square triangles and you get the same block.

Here is a handy chart to help you figure out the finished size for any hst

Check out our past Vintage Quilt Tutorials here on our Tutorials page

Lastly, check out our Jelly Roll sale, while supplies last. See you next week for another Vintage Quilt Thursday!