Welcome to the Hourglass Block tutorial. You can see the vintage quilt inspiration here.
This is a smallish block (each of the half square triangles is 2").
Here is how to make this fun little block.
Draw a line diagonally on the lighter square.
Place the squares right sides together and sew down each side of your drawn line 1/4".
Cut on your drawn line.
Open and press each square. Pressing (placing the iron on the fabric and picking it up to move) rather than sweeping across the block will help to keep the square from getting pressed out of shape.
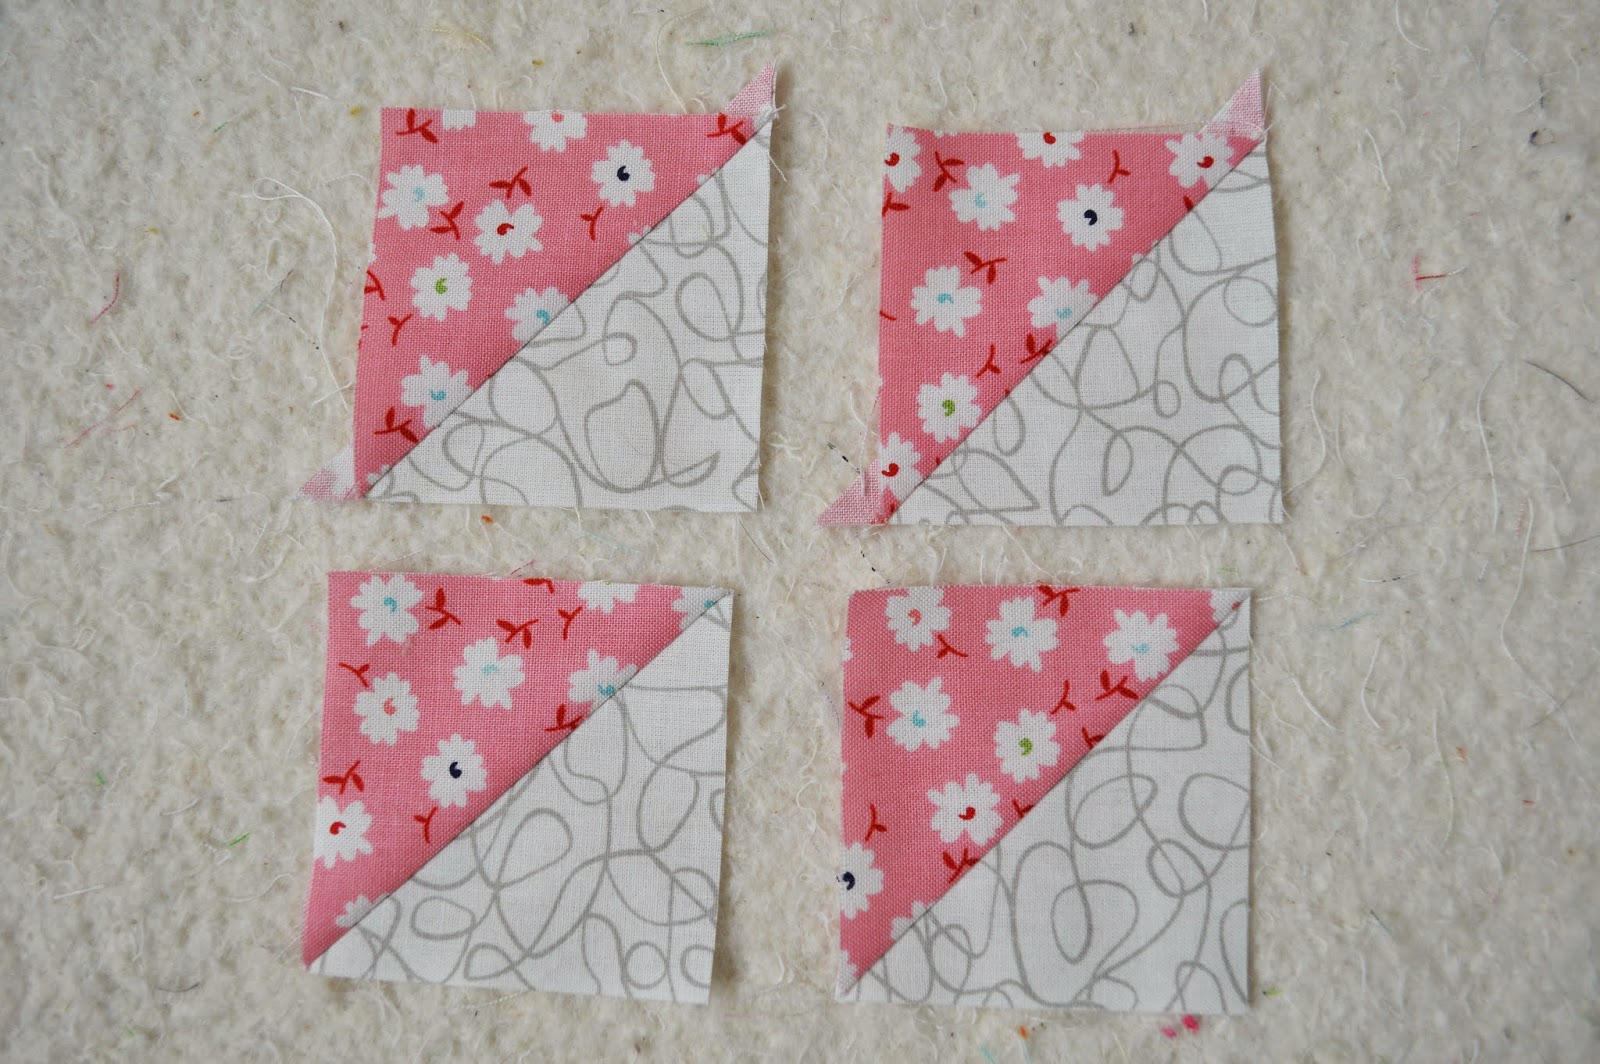
You have now created 4 half square triangles (hst's).
Trim the dog ears (the corner flaps).
Lay the squares out like so.
Sew the squares on the top and bottom
And then join the top and bottom units.
Voila, you are done. Cute, right?
Since I am not making a full quilt out of these blocks (like in the inspiration) I made a few more blocks to see what a bigger block would look like.
This layout features the lower volume prints in the middle. It creates another block in the middle.
Turned this way I get another hourglass block in the middle.
This placement gives a punch of color in the middle.
You can make this block any size you want. Have a bunch of left over 5" squares? Sew up half square triangles and you get the same block.
Here is a handy chart to help you figure out the finished size for any hst
Check out our past Vintage Quilt Tutorials here on our Tutorials page
Lastly, check out our Jelly Roll sale, while supplies last. See you next week for another Vintage Quilt Thursday!


No comments:
Post a Comment