Monday, September 8, 2014

Modern Building Blocks Part 2


I am moving right along with my Moda Modern Building Blocks. I am now up to 20 out of 48 blocks. These 6 are 6" finished blocks. Again, I used spray starch on the fabric before I cut out the pieces. Some blocks have a lot of little, cut on the bias pieces.

You can see Part 1 set of my blocks here


These 4 are the 12" finished blocks. The bottom left one is in progress.
I am still having fun with this project. I really can't wait to see it all finished.

 Heather has started cutting out her blocks and I am really liking the fabrics she is pulling.
 I will be sure to show you pictures of her blocks too.


I like the way this pattern is presented. The fan deck style makes it easy to find and keep track of all the patterns. And its small enough not to get in the way on my cutting table.

 You can pick up a pattern set here or here
 
Free Image Hosting at www.picturetrail.com

Friday, September 5, 2014

Hexagon Flower Quilt Tutorial


Anyone remember this quilt I made last year? I used about 18 Moda Mini Charm Packs and about 4 yards of background fabric.  I had a great time making it and it was, actually, pretty easy. It just takes lots of time.
I think of this as a modern Grandmother's Garden. I didn't want to sew together the hundreds of plain spacers that go between each flower. I was sure I would lose interest. Buuuut...if I didn't have to make the spacers? Perfect

Here is how you can make a Hexie Flower Quilt. A baby quilt would be cute too, and wouldn't be as time consuming..


Start by making a hexie flower. You can see my previous post on how I stitch my hexies here

You will need:
6 petals (the pink hexies in my photo) =2.5" fabric squares and one hexie paper per petal
one center piece=2.5" fabric square and one 1" paper hexie
1- 7" background square


Arrange your pieces in a layout you like this


Start by sewing the center piece to one of the petals (the hexie tutorial shows how I do this step too).


Add the second petal by placing it right sides together on the center hexie.
Whip stitch from the right towards the center
I like to do a couple of extra stitches in place in the center before I start to sew down the side


Flip this unit and sew from the middle down to the top.
Knot the thread and snip


Sew the next 3 petals the same way
The last petal you will sew just as you did before but you will go back to the last side of the hexie and sew the one remaining side


Here is the back. You can see that I do not trim my hexie fabric prior to sewing. I use 2.5" squares for the 1" hexie paper
Pull out your papers (pull back one corner of a petal on the back and gently pull the paper out)
Iron flat after all papers are out


Fold your square in half, finger press, fold in half again, finger press.
This creates a cross hair for you to center your flower.
You can see I lined up the notch on each side of the flower to the horizontal line.
 I lined up the center of each top petal the the vertical line
Pin in place


Sew around the flower close to the edge.
For the finished quilt in the first photo I used an off white thread for every flower. I decided I didn't want to change thread color.
With my example block I used an off white thread again. A light grey probably would have worked too.

Fabric requirements ( for finished twin quilt)

108  blocks in a 9X12 layout
3.5 yards of background
756-2.5" squares (or 18 mini charm packs, which I used. All different but I duplicated 2)
3 packages of 100/pack 1 inch hexies

I have used those 300 hexies for about 5 projects and they have held up well.
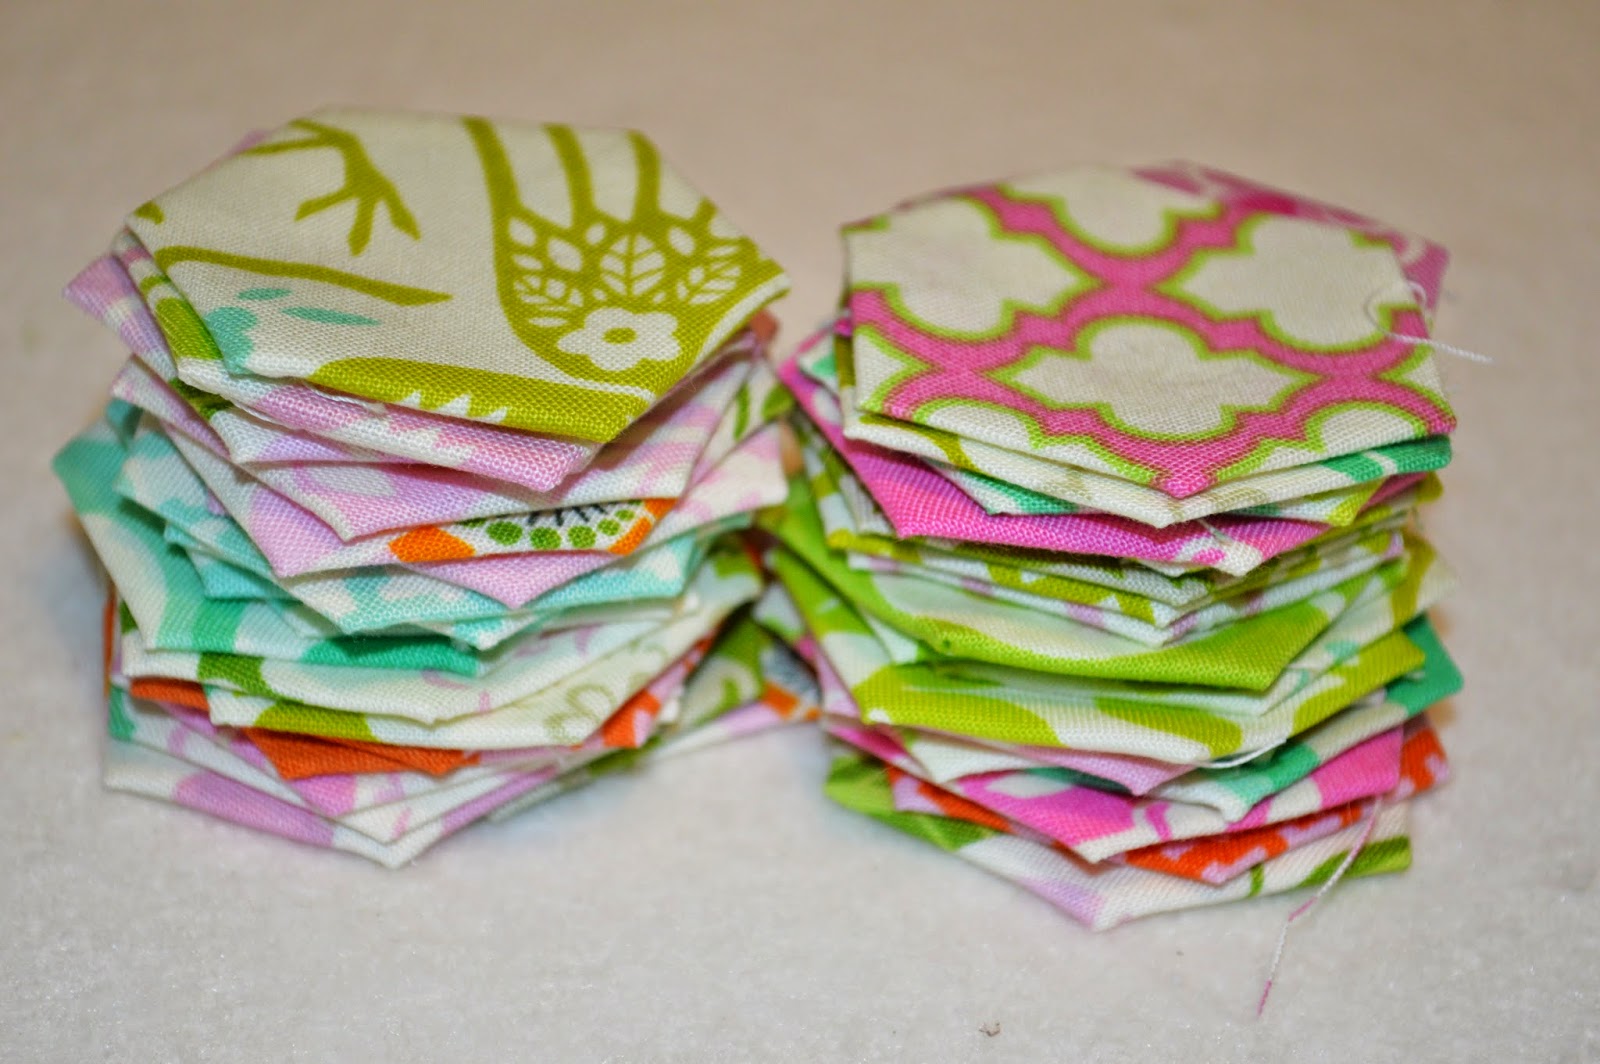
Sometimes I like to make each flower from beginning to end, sometimes I will sew up a bunch of hexies until I have a huge stack and then sew them up in to a flower

Where to Find: Etsy
Hexies
Mini Charm packs
Low Volume fabrics for background

Website
Mini Charm packs
Low Volume


Tuesday, September 2, 2014

Modern Building Blocks: Scrappy Version


Meet my latest quilting obsession (yes, I say that a lot), Moda's Modern Building Blocks. Its a cute fan deck of blocks. There are several blocks sizes (you can see in the top left picture).

I am using my handy design board (tutorial by Lori Holt) to lay out the pieces after cutting them out and carrying it over to my machine.

I am making a scrappy version and decided to cut out and sew the smallest blocks first (6" finished) to make use of my scraps. The bigger blocks may require cutting in to my fat quarters.


I am up to 9.5 blocks (out of 30-6" blocks). I am having so much fun!

I am a little worried about the cut triangles (they do not use a hst triangle technique) and bias so I am starching my scraps and then ironing before cutting. So far it has worked out pretty good. I also am finding I have to use a scant 1/4" to get my blocks all the same.

You may want to check your quarter inch for accuracy. My quarter inch foot has a metal seam guide and I think it gets a little bent after use and I could stand to check it more (and buy a new foot if necessary).

Heather is sewing up a solid version (like in the original) and my friend Mary stopped by today and I asked if she would bring her blocks over to share too.

If you are making and blogging about these blocks, let me know and I can check out and link to your blocks.

Fabric Members, here is your link to get your pattern fan deck at 25% off.

Fabric and Quilting Membership info


Saturday, August 30, 2014

Hexie Baby Quilt


Need a quick and easy baby quilt? This might be what you are looking for.

I have a hexie tutorial here if you haven't done hexies before or want to check out the method I use.


You will need:

1.25 yards background (I used a natural linen)
Frixon pen (or other marking implement)
long ruler
70- 2.5" squares of fabric (you can use Moda Candy, jelly roll, or scraps)
1" hexagon paper piecing papers
1.25-1.5 yards backing ( I like a little extra backing when basting and lining up my top)

Step 1:
-sew up your hexagons using your preferred method
-iron the hexies and take out the papers


Step 2:
Mark your fabric
-draw your first line down the right side 5" in from the edge
-draw a second line 7" from the edge
-third line is drawn 9" from the edge
-the last line is down from the top 2.5" between the first and second line. This will help place the first hexie


Step 3:
-place the hexies and pin in place as shown. I pinned and sewed in 3 sections. For me, more than that and the pins would be a problem


Step 4:
-sew up and down each hexie row. It looks like a zig zag.
-I wasn't worried about the bottoms and tops not being sewn down as the quilting would tack it all down


-all done.
-quilt as desired. I am thinking about writing up a tutorial on the method I use to mark, baste, and quilt my quilts.

All of our Up Parasol bundles are on sale and the fat eighth bundle would be perfect to make this quilt.

fat eighth bundles $5 off
fat quarter bundles $10 off
half yard bundles $8.99 per yard

If you are looking for yardage convo me at our Etsy shop and I can set up a custom listing for you

 
Free Image Hosting at www.picturetrail.com

Thursday, August 28, 2014

Vintage Quilt Thursday: Hexie Tutorial


Welcome to Vintage Quilt Thursday! Last week I shared a few fantastic vintage Grandmother's Garden quilts made with hexies.

Today I am sharing how I sew my hexies. There are several different method and each has its merits.


This is my hand sewing kit. I can take it with me or have it sitting my my sofa. In it I keep a small pair of scissors, neutral thread, sewing needles, hexie papers (I am using 1" papers), and 2.5" squares.

The bag is made with the Sew Together Bag pattern. Heather wrote a Sew-A-Long for this pattern and made it easy for anyone to make a triple zipper pouch.

Moda Candies are the perfect size for the 1" hexie papers. 
I used those and hand cut 2.5" squares from scraps and fat quarters. When hand cutting I lay one paper on the fabric (folded several times if a fat quarter or large scrap) and use it to eye ball a square and cut.


In my left hand (I am right handed) I hold one paper and one square, the paper on the wrong side of the fabric.


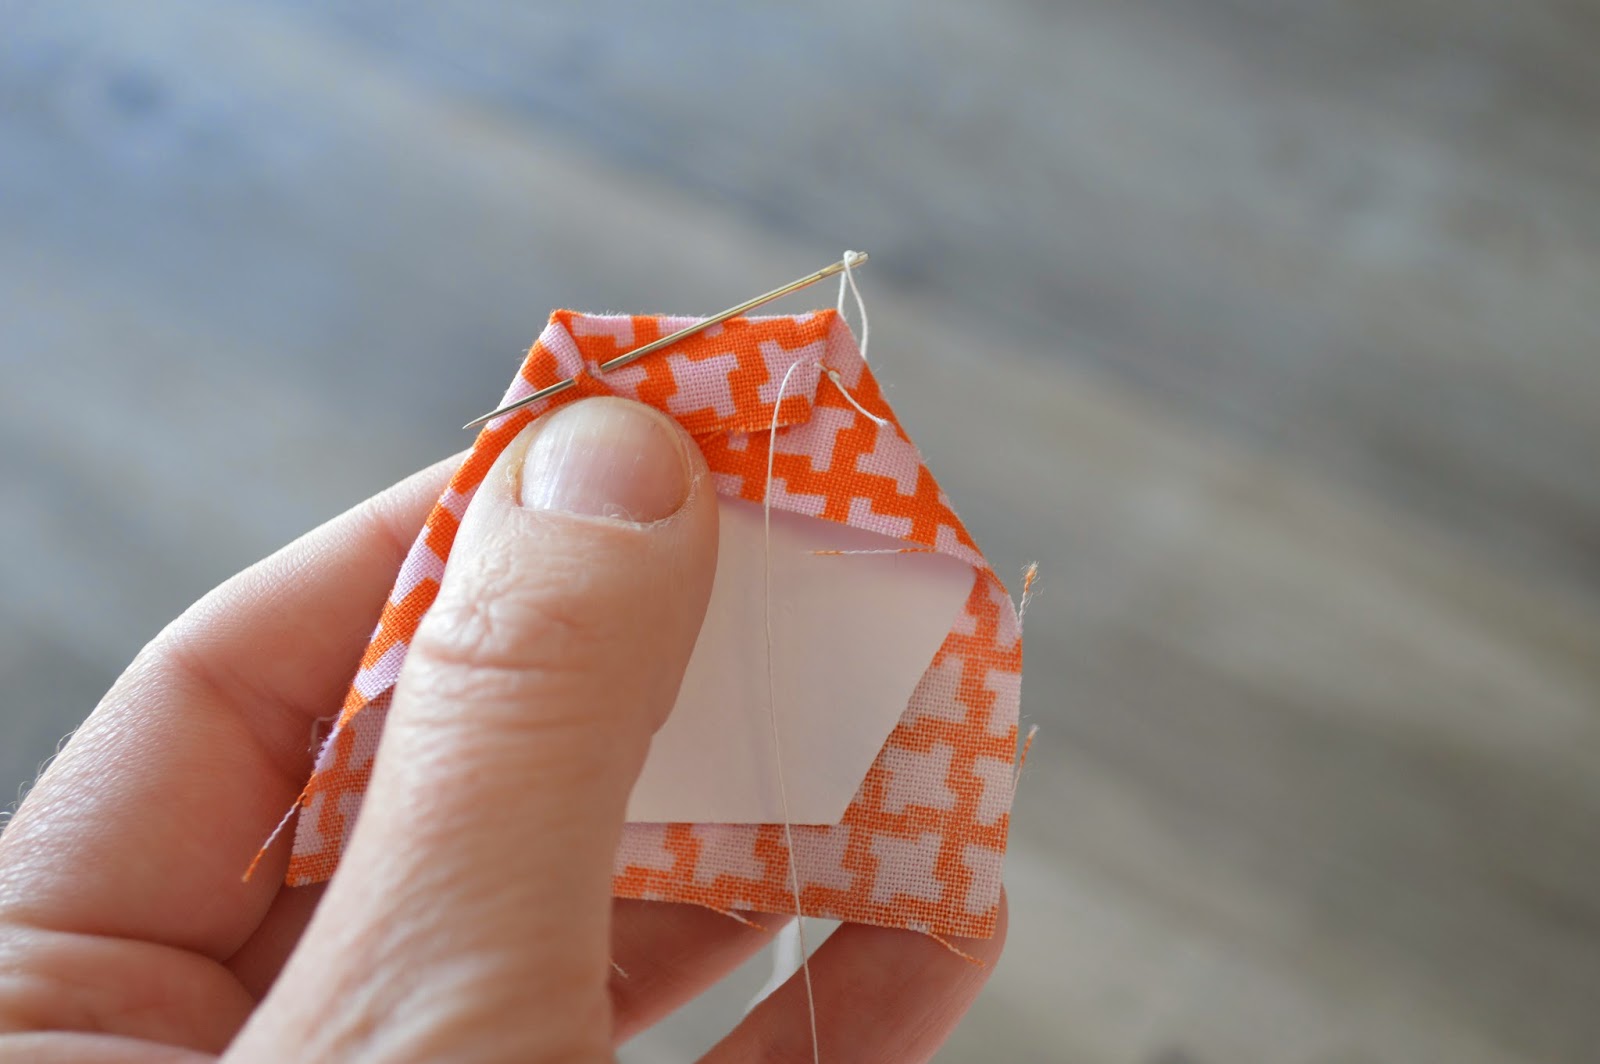
Fold the top right corner down and then fold the adjoining side down. Hold with your thumb.


With a threaded needle, single strand with a knot at the long end, go through both fabrics in the corner.


Take two stitches in each corner. Do the same fold and 2 stitches in each corner.


All done. You can see I did not go back to the original corner so you see no thread stretched to that corner.

I do not trim my fabric but leave it as a square.


Joining 2 hexies.
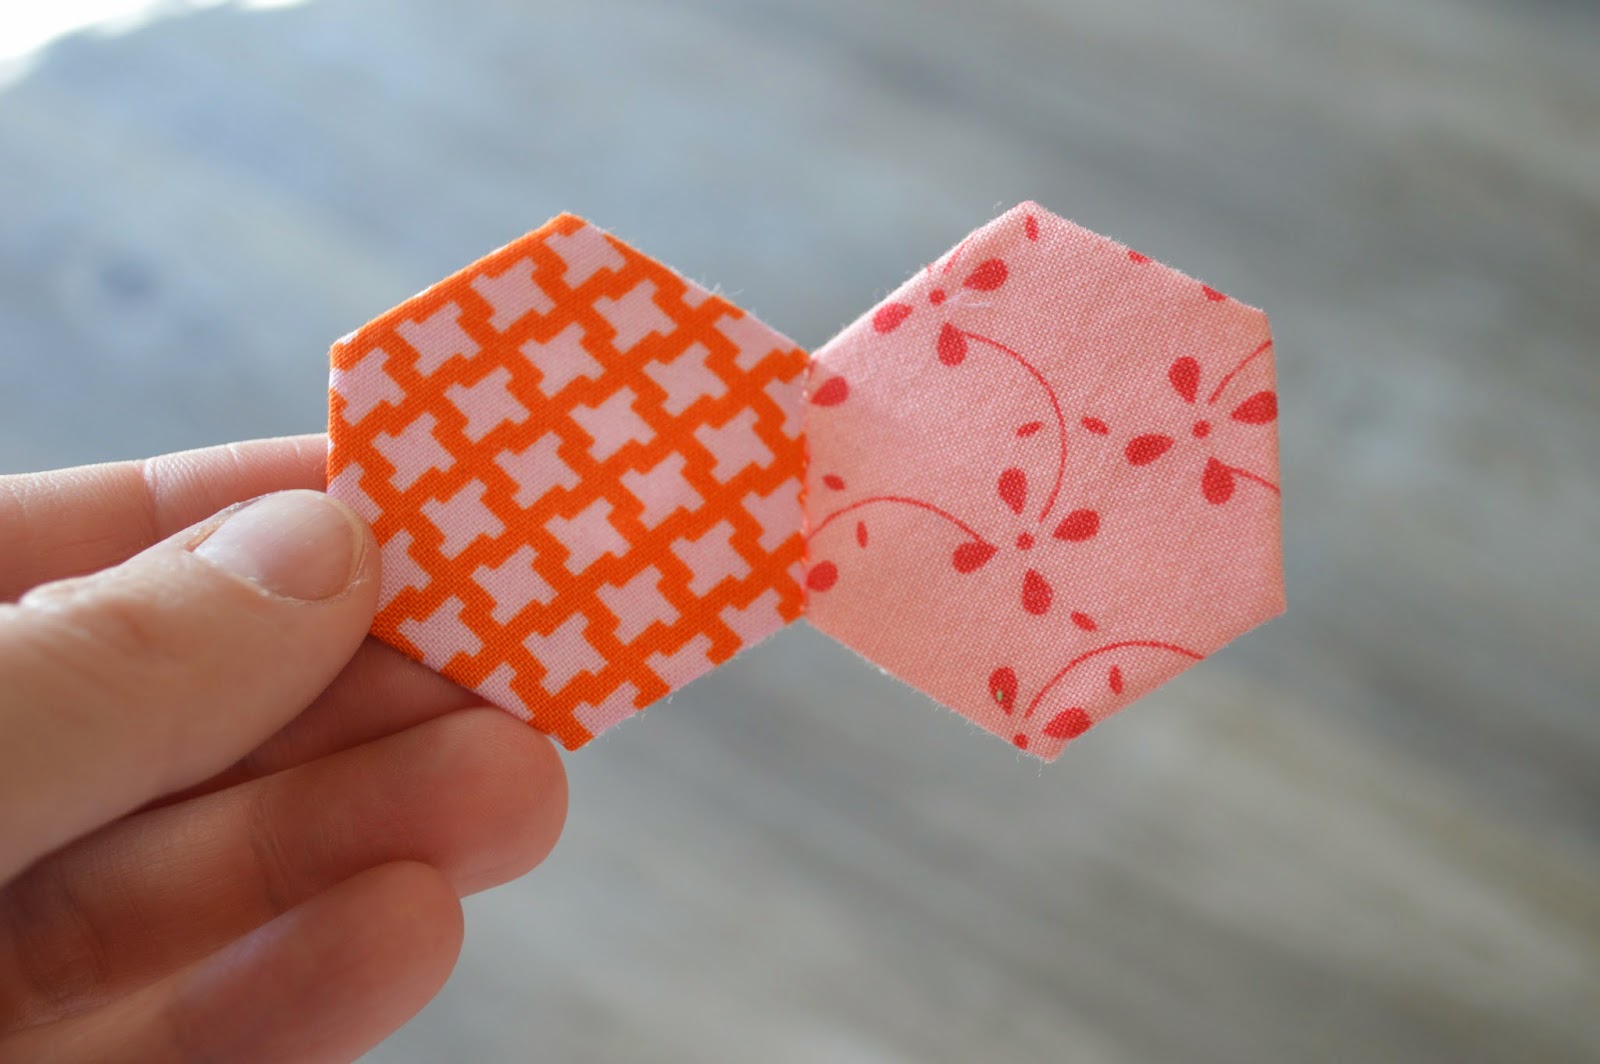
Place 2 hexies right sides together.  Use small, shallow stitches to whip stitch the 2 sides together.


Using shallow stitches will ensure your stitches do not show on the front. And if they do, thats ok too.


Ta-da.


Here is the back.

There are many different configurations when joining the hexies.

I am going to share 3 hexie projects (2 quilts and one accessory) that show 2 different configurations.

The first project, a quick and easy baby quilt, will be up Saturday. See you then!

Tuesday, August 26, 2014

Fancy Fox with Emmy Grace


 I looove this quilt. I had intentions of giving this to middle daughter but now oldest daughter wants it. I am thinking of making another fox quilt out of this fabric for her.


Like the jump ropes and twine tied to my tree? They are going to have to be cut off, those girls can tie knots.

Heather quilted figure eights and its perfect. Did you know you can mail in your quilt top and backing and Heather will quilt your quilt and mail it back? Check it out!


The fabric is Emmy Grace by Art Gallery. This company has the softest, best quality fabric.

We have only a few bundles left of this line and some bolts left. I need to get some yardage for a pillowcase soon. I have decided to make a matching pillowcase for every quilt I make. Then they can store the quilt in the pillowcase.

The pattern is Fancy Foxes by Oh, Fransson. I am thinking about making a few blocks for a pillow out of some of these fabrics too.

I have this quilt hanging in the shop so when you come in you can feel just how awesome this fabric is.

Saturday, August 23, 2014

Sewing Machine Mini Quilt


I am pretty pleased with how well this mini quilt block went. I am sure I thought it would be harder than it looks.

I still can add a little needle with floss. I may have to outline the "SEW" with a darker perle cotton so it stands out a little better.

I used Lori Holt's Cut Press Sew Quilt Pattern. There are 3 other mini quilts to make and I think the 4 blocks could be put together to make a whole quilt.

For now it I think it will go in a pile with my other blocks I have made from Vintage Quilt Thursday. I am toying with the idea of putting all the blocks together into one quilt at the end of the year.


Thursday, August 21, 2014

Vintage Quilt Thursday: Grandmother's Garden


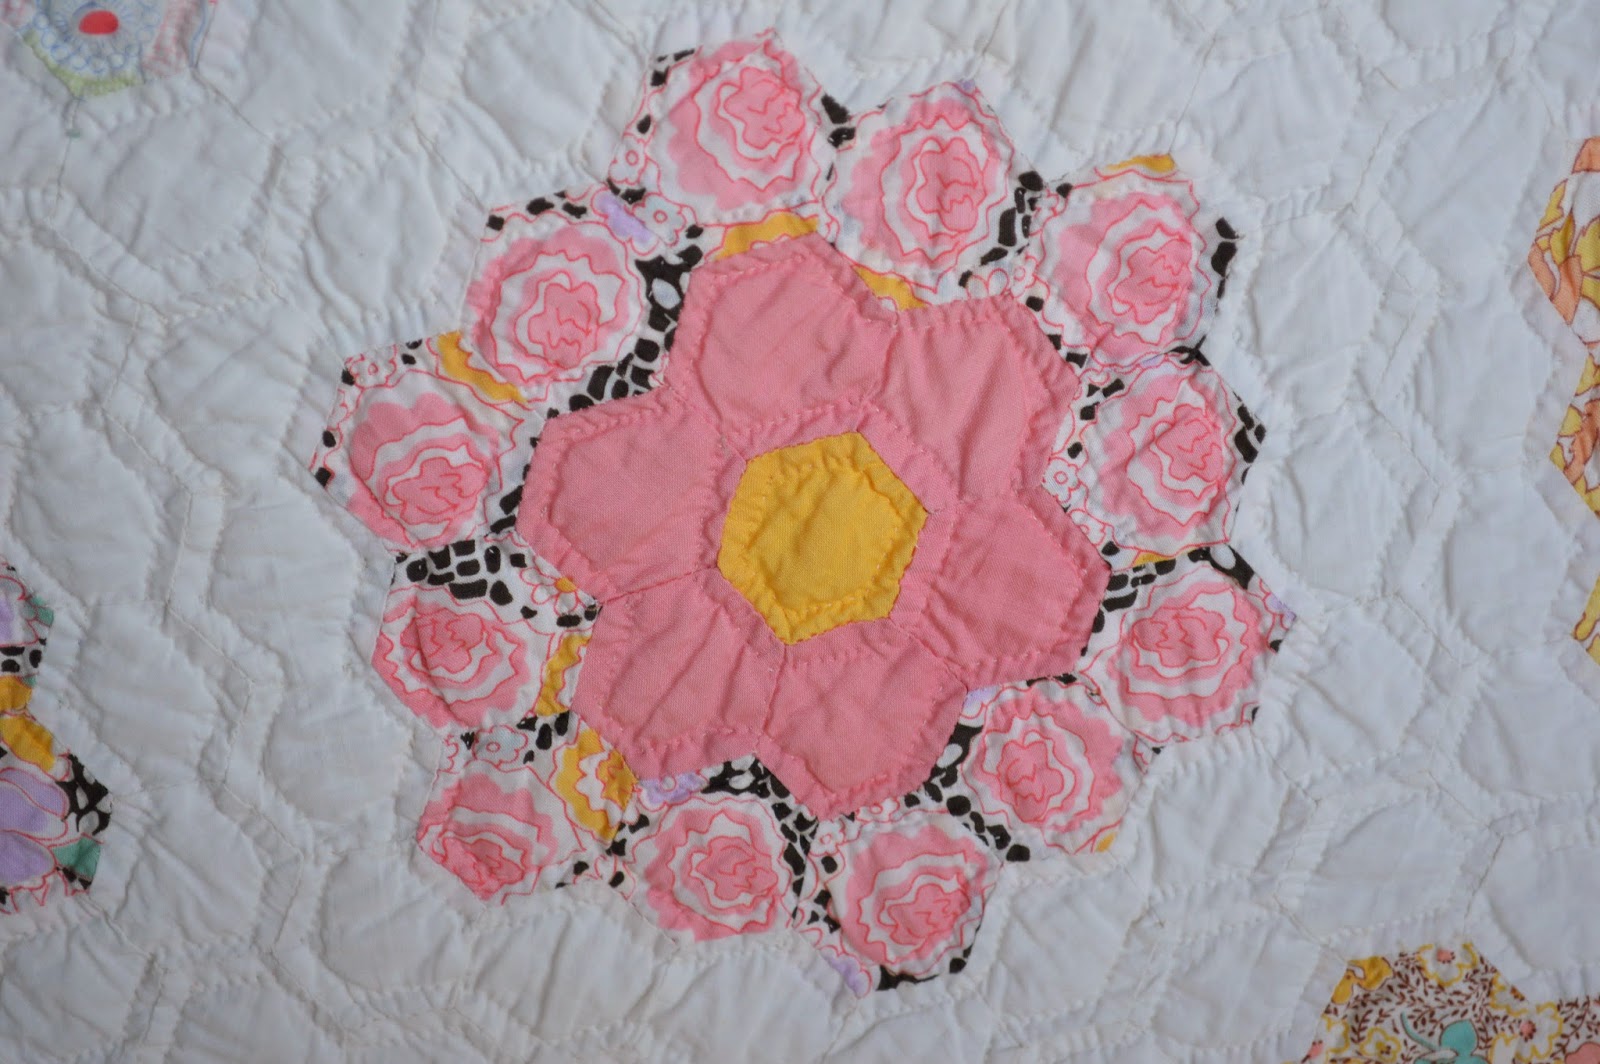
Hooray for Thursdays and vintage quilts! Today I am sharing 2 Grandmother's Garden quilts from Heather's personal collection.
 

Each flower features lovely fabrics and many are fussy cut, like these pink roses.
Each flower also has the traditional yellow center.
Can you imagine the hours, years that it took to make this. Yes, women didn't have television or malls to visit (or Pinterest or Instagram!!) but they did have laundry to wash and meals to cook from scratch.


Then! all the tiny hand quilting. Those boxes on the green are about an inch big.


I'm not sure what kind of batting is in here (cotton of some sort, flannel?).  Check out the bottom right corner and you can see a peek of the back of the quilt. The backing is all white but you can clearly see through the quilt with the light shining through. It s very light quilt!


Heather also has a  red and white hexie quilt. I love this quilt too but I think I would be bored out of my mind stitching up only 2 color hexies.

Next week I will be sharing how I stitch my hexies and a baby quilt pattern. Don't worry, I won't have you making a year long project. This baby quilt can be made up in a weekend (or less).

I will be using 1/2" hexies and we have some in the shop (and a few other sizes too).

And remember how I said Far Far Away is my latest fabric love?  Check this one out. Gah, I want to make all the quilts! I do have a pattern picked out and I am trying to decide which fabric line would work best.

Monday, August 18, 2014

Vintage Quilt Thursday:Dresden Plate Tutorial: Part 2


Welcome to Part 2 of the Dresden Plate Tutorial. You can find Part 1 here and the Vintage Inspiration here.

First, an apology for the delay. I got ridiculously sick with the flu Thursday morning and was laid up for several days. It feels good to be up and about again.

You will need:
Background fabric 18"X18"  (I often cut my fabric to be appliqued on slightly bigger and then trim it after. The applique process can shrink the square a bit. I cut this square 18.25")

Pins, I like applique pins. They are smaller and I don't get poked with them like regular pins

Hand sewing needle and thread to match


Start with your 18" square background fabric. Fold it in half and press the fold with your finger.


Fold in half again and finger press the seam. Open your square and you will see a cross hair pressed on the fabric. If you have trouble seeing the lines you can lightly press with an iron.
Use this to center your plate circle.
 

You can see (barely, sorry) the middle cross hair is lined up with the center seam of the two blades.


Place a pin in each blade to hold it in place (I am showing regular pins here). Don't stretch out the blades or your center circle will not fit properly. 

Needle turn the edges under 1/4 inch.

The way I do it is to bring the needle up from the back, flick the edge of the fabric blade under with my needle and catch the edge (like you are sewing a binding). I turn under less than a quarter inch.


This is the back showing my stitches.


Place your prepared circle over the center, pin in place to hold, and stitch around to secure. You can use a blanket stitch, a decorative stitch, or a simple straight line. I straight line stitched very close to the edge of the circle.

Voila. I have a variation blade to share with you so you can mix up your dresden plate blocks. I also have another fun vintage block for you coming up starting with the vintage quilt inspiration this Thursday.

You can check out our previous Vintage Quilt Thursday posts and the tutorials by searching Vintage Quilt Thursday in the search box.

My next great fabric love is this line by Heather Ross, Far Far Away. My youngest daughters and I came up with a fun project to make with this.


Block details:
Background Fabric
Plates and Center fabric

Link for Fabric Members
Background Fabric
Plates and Center Circle

Want to find out about Fabric Memberships? Here you are

Part 1 Here