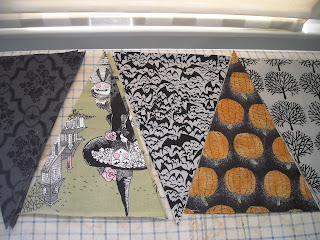
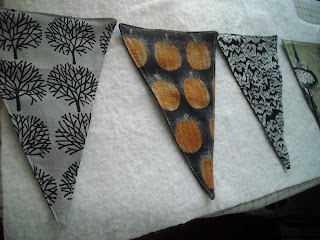
Today is Day 2 of The Fall Bedroom Tutorial Week. Today's tutorial is for the bunting, or flags, that are draped on the headboard. You can see the full room reveal here
The one I made uses different fabrics than the one in the window but the same vintage trim.
I dug out my Ghastlies stash for this project. This is one of my favorite lines and I was so glad to see it re-released with new designs this year.
Supplies:
Fabrics of choice including the backing fabric
cardboard (I used a cereal box) or template plastic
trim for hanging the flags from (I also like to use the twill tape that comes with the layer cakes)
usual sewing items
This is how I came up with my triangle shape template. I decided I wanted the top of the flag to be 7 inched wide. I made marks at the 0 and 7 line. I also made a mark in the middle at the 3.5 mark.
I drew a line down from the 3 marks to how long I wanted the flag to be. I drew a line from the 0 mark down to the middle mark on the bottom and then the same for the other side.
A perfect triangle.
On either the back or the front trace the template on to the fabric, minding any directional print. I didnt want any upside down pumpkins. Do the same for the backing fabric.
I made 8 flags but you can make yours any size.

Take a front and a back fabric and place right sides together. Sew 1/4 inch all around leaving 3 inches along the top open for turning.
Clip the corners to reduce bulk.
Turn right side out, poke the corners out and iron flat. I like to off set the seam and iron first. This makes a crisper edge.
Edge stitch around the flag making sure to catch the open edge on the top.
Sometimes it can be hard to start sewing on the corners. When I get to the corner I pull out some thread and use this to pull my piece from behind to get it going past the feed dogs. Trim these after.
Lay out all the finished flags and decide on an arrangement.
Lay out the trim at this time too and measure out how long it needs to be. Sew on the trim attaching each flag.
Done!


No comments:
Post a Comment